This page contains affiliate links. If you purchase through them we may earn a small commission at no extra cost to you. Learn more
What Happens After Solar Installation: The Commissioning, DNO, and SEG Timeline
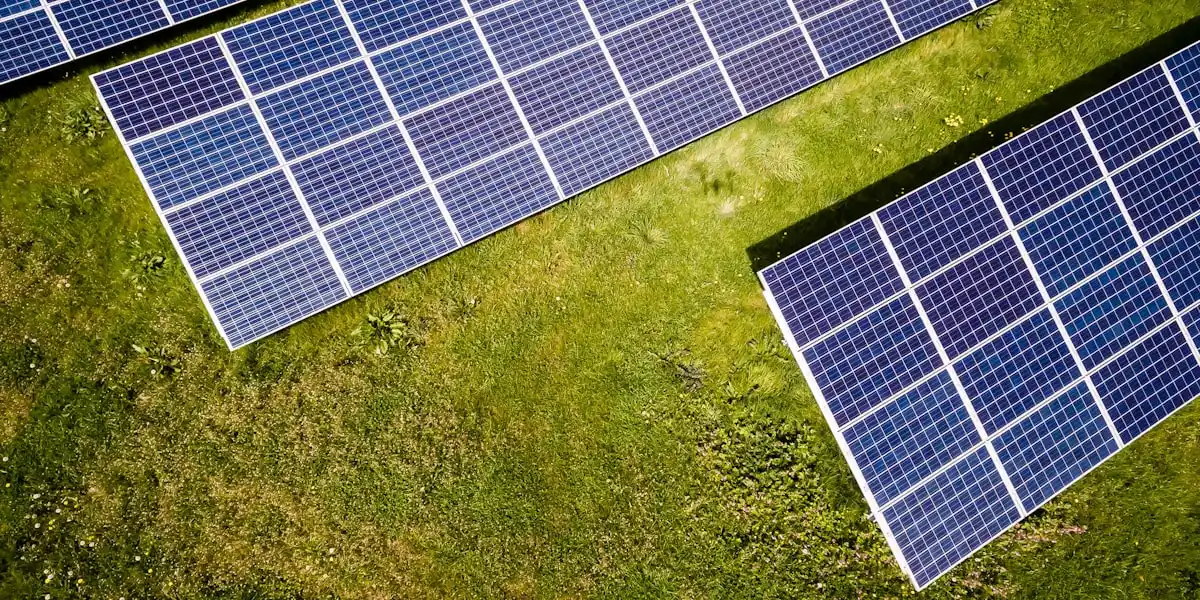
The installation crew has packed up, the scaffolding is coming down, and there are panels on your roof. Congratulations. But what happens next? There's a surprising amount of admin between "panels installed" and "getting paid for your exports," and most installers don't explain the full timeline clearly. Here's exactly what to expect, week by week.
Week 0: Installation Day and Commissioning
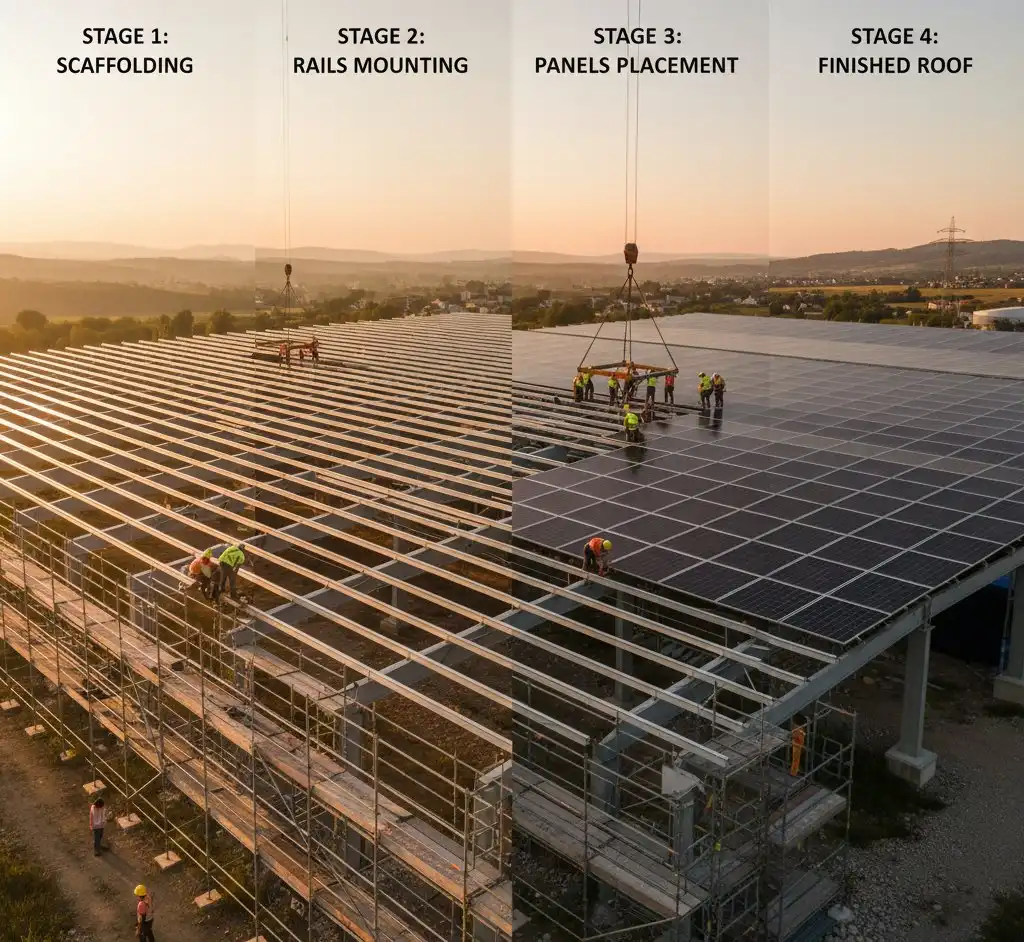
Installation day itself is covered in our solar installation process guide, but the final hours are where your post-installation timeline begins.
What happens during commissioning
Once the panels are mounted, wired, and the inverter is connected, your installer carries out commissioning — a formal set of tests to verify everything is working safely and correctly. This includes:
- Earth fault loop impedance testing — confirms the earthing is safe and compliant
- Insulation resistance testing — checks there are no faults in the DC wiring
- Polarity checks — verifies all connections are the right way round
- Generation verification — the installer powers up the system and confirms it's producing electricity
- G98/G99 relay settings — verifies the inverter's grid protection settings are correct
This isn't optional. Commissioning is a requirement of the MCS certification process and must be completed before your installer can issue your certificate.
The handover
Before your installer leaves, you should receive (or be told when to expect):
- MCS certificate — the single most important document. You need this for SEG registration. Some installers provide it on the day; others post it within 1–2 weeks.
- Part P electrical certificate — signed by the registered electrician who completed the work
- Warranty documents — for panels, inverter, and mounting system (these often have different warranty periods)
- Insurance Backed Guarantee (IBG) certificate — this covers the workmanship guarantee if the installer ceases trading, and is separate from deposit protection
- User manuals — for the inverter and any battery system
- System schematic — a diagram showing how all components are connected
- Serial numbers record — for all panels, inverters, batteries, and other major components
- Generation meter reading — your starting point for tracking output
- Commissioning certificate — the formal record of the tests carried out
- Login credentials — IDs and passwords for all monitoring apps and manufacturer portals
- Support contact details — direct after-sales and technical support numbers
For a full breakdown of every document and quality check to run on installation day, see the installation day checklist.
Test App Credentials Before the Installer Leaves
Log into every monitoring app and manufacturer portal while the installer is still on site. If a password doesn't work or an account hasn't been created, they can fix it immediately. Resolving access issues after the installer has left can take days of back-and-forth with support teams.
Take Photos of Everything
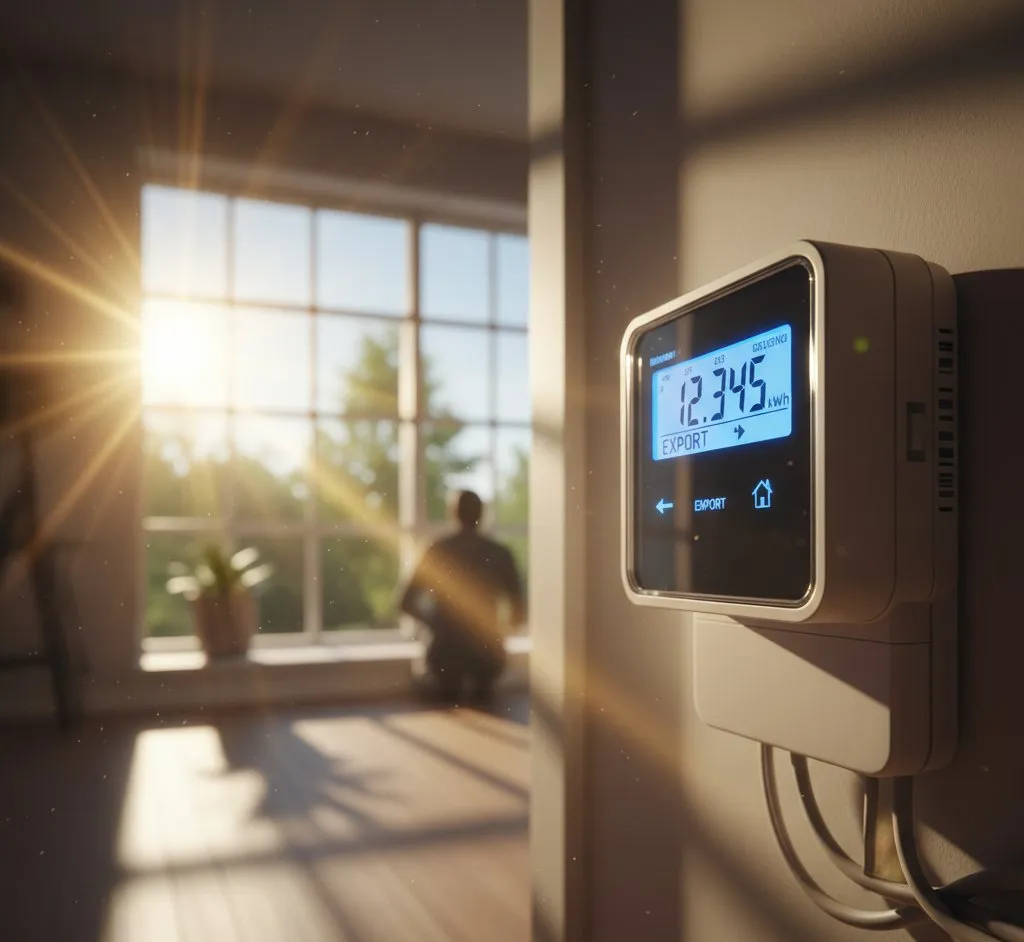
Photograph the inverter serial number, generation meter reading, any labels on the consumer unit, the system schematic, and — critically — your smart meter's export reading. This export reading creates a baseline for your SEG application and proves your installation date. Store these digitally in cloud storage so they're timestamped and backed up.
Can you use your electricity straight away?
Yes. The moment the inverter is switched on and generating, you're producing electricity that feeds directly into your home. Any appliance running at that moment is being powered (at least partially) by solar. You don't need permission from anyone to use your own solar electricity.
However, you are not yet registered to export electricity to the grid. Any surplus power flowing back through your meter during these early weeks is effectively given away for free. This is normal and expected — it's typically only a few weeks' worth of exports.
Weeks 1–2: DNO Notification and WiFi Setup
DNO notification: G98 vs G99
Your installer is responsible for notifying your Distribution Network Operator (DNO) about the installation. Which process applies depends on your inverter size:
G98 (inverter up to 3.68kW per phase): This covers most standard domestic installations. Your installer submits the notification online after installation, and it's typically acknowledged by the DNO within 10 working days. No approval is needed — it's just a notification. You can generate and use your electricity throughout this period with no issues whatsoever.
G99 (inverter above 3.68kW per phase): This is an application, not a notification, and it should have been submitted 4–8 weeks before installation because the DNO has up to 45 working days to respond.
G99 should already be done
If your system has an inverter larger than 3.68kW on a single-phase supply and your installer hasn't already submitted and received a G99 approval before installation day, something has gone wrong. Contact your installer immediately. Operating a larger system without G99 approval can create issues with your DNO and may affect your ability to register for the SEG.
Setting up inverter monitoring
Most modern inverters have WiFi connectivity and a companion app or web portal. Getting this set up in the first week is well worth doing — it lets you see exactly how much you're generating, consuming, and exporting in real time.
Common monitoring platforms by brand:
- GivEnergy — GivEnergy portal (givmonitoring.com) and app
- Fox ESS — Fox Cloud (foxesscloud.com) and app
- Solis — Solis Cloud (solis-cloud.com) and app
- SunSynk — SunSynk Connect app
- Growatt — ShinePhone app and server
- Huawei — FusionSolar app
The setup process is broadly similar for all brands: connect the inverter to your home WiFi (usually via WPS button or AP mode), then register for an account on the manufacturer's portal. Your installer should help with this, but if they don't, the process is usually straightforward with the manual.
Register each product with its manufacturer
This is separate from your MCS certificate, and it's the step most homeowners miss. Most inverter and battery manufacturers require you to register the product on their own portal to activate the full warranty term. Without manufacturer registration, you may only be covered for the statutory minimum rather than the advertised 10- or 15-year warranty period.
Check the operating manual or the manufacturer's website for the registration link. It's typically a 5–10 minute process per product — do it within the first week while the serial numbers and installation date are fresh.
Notify your home insurer
Solar panels and battery storage are permanent fixtures that add value to your home and increase the cost of reinstatement in the event of a claim. Contact your home insurer to let them know the installation has been completed. Most insurers will include them under standard buildings cover at no additional premium, but you need to tell them — failure to disclose could affect a future claim.
WiFi Signal Strength Matters
Inverters are often installed in garages, lofts, or utility rooms where WiFi signal is weak. If your inverter keeps dropping offline, consider a WiFi extender or powerline adapter rather than blaming the inverter. Also check that the CT clamp (the clip-on sensor on your meter tails) is correctly positioned — if it's on the wrong cable or facing the wrong way, your consumption and export readings will be nonsensical.
Weeks 2–4: MCS Certificate and SEG Registration
Getting your MCS certificate
If your installer didn't hand over the MCS certificate on installation day, chase it. You need this document to register for the Smart Export Guarantee (SEG), and there's no workaround. The certificate confirms your system was installed by an MCS-certified installer to the required standards.
The certificate includes your system details, installer details, and a unique reference number. Your installation is also recorded on the MCS database, which SEG providers check during registration.
Registering for the SEG
The SEG is the mechanism by which you get paid for electricity you export to the grid. It replaced the old Feed-in Tariff and requires you to actively register — it doesn't happen automatically.
To register, you'll need:
- MCS certificate (or MCS installation reference number)
- Your electricity meter serial number (MPAN for the supply, plus the generation meter serial number)
- Proof of address
- Bank details for payment
Popular SEG providers include:
- Octopus Energy — currently among the highest fixed-rate SEG tariffs, and they offer Agile Outgoing for variable export rates
- British Gas — straightforward application, quarterly payments
- E.ON Next — competitive rates, online management
- EDF — reliable, standard offering
- Ovo Energy — decent rates with online dashboard
You don't have to use your current electricity supplier for SEG — you can register with whichever provider offers the best rate. Switching SEG provider later is straightforward too.
SEG registration typically takes 2–4 weeks to process. Some providers are faster than others. Octopus tends to be among the quicker ones.
Weeks 4–8: First Export Payments and Finding Your Rhythm
Your first SEG payment
Most SEG providers pay quarterly. Your first payment will likely cover a partial quarter, so don't expect much. A typical 4kW system might export 1,500–2,000 kWh per year, but that's heavily weighted towards the summer months. If you installed in November, your first quarter's exports will be modest.
Don't be discouraged by a small first payment. The real value of solar is in the electricity you use yourself (saving you the full retail rate of 24p+ per kWh), not the electricity you export (which earns you around 4–15p per kWh depending on your tariff).
Learning your self-consumption patterns
This is where monitoring data becomes genuinely useful. After a few weeks, you'll start to notice patterns:
- Peak generation is typically between 10am and 3pm
- Highest self-consumption happens when you run appliances during peak generation
- Export spikes happen when the sun is shining and nobody is home
The simplest way to save money is to shift flexible loads into your generation window: run the washing machine, dishwasher, and tumble dryer during the middle of the day rather than in the evening. No technology needed — just a change of habit.
Getting a New EPC
Once your system is installed and commissioned, it's worth booking a new EPC assessment to formally capture the improvement in your home's energy rating. This isn't a legal requirement after a retrofit installation, but it has real practical value:
- Green mortgages — lenders require a current EPC showing a high rating to offer preferential terms
- Property sales — a post-solar EPC is your documented proof of the improvement; without it, buyers rely on a pre-solar rating
- Peace of mind — confirms the SAP improvement matches what your installer estimated
You'll need your MCS certificate to hand — the assessor uses it to confirm system size and record it accurately in RdSAP 10. Under RdSAP 10 (in force June 2025), batteries and diverters are also now credited if present.
The assessment takes 45–90 minutes and the new EPC is typically lodged online within 24–48 hours. Cost is usually £60–£120. You can find an accredited Domestic Energy Assessor at EPC Certificates (affiliate link — we may earn a small commission at no extra cost to you) or via gov.uk/get-new-energy-certificate.
Time It Right
Book your EPC assessment after the MCS certificate has been issued and you have it to hand — typically 1–2 weeks after installation. Don't wait months; if you're selling or applying for a green mortgage, you'll want the updated EPC as soon as possible.
Month 3 and Beyond: Optimisation
Once you've got a few months of data and the admin is sorted, you can start optimising.
Smart tariffs
If you have a battery system, a smart tariff can significantly boost your savings. Tariffs like Octopus Agile or Intelligent Go offer cheap overnight rates (sometimes as low as 7p/kWh) that you can use to charge your battery, then use that stored electricity during expensive peak periods.
Home automation
For those who want to go further, Home Assistant with the Predbat add-on can automate your battery charging and discharging schedule based on weather forecasts, tariff prices, and your usage patterns. It's not essential, but it can squeeze an extra 10–20% savings out of a battery system.
Your first meaningful SEG payment
By month 3–4, you'll receive your first full quarter's SEG payment and have enough generation data to understand your system's actual performance. Compare your total generation against what was predicted in your installer's quote — most systems perform within 10% of predictions over a full year, but individual months can vary significantly with weather.
Common Problems (and How to Fix Them)
Installer hasn't submitted the DNO notification. This is the most common post-installation complaint. If it's been more than two weeks since installation and your installer can't confirm the G98 has been submitted, chase them firmly. They're required to do this as part of the MCS process. If they remain unresponsive, you can contact MCS directly to raise a complaint.
SEG provider asking for documents you don't have. The usual sticking points are the MCS certificate, the generation meter serial number, and sometimes an EPC (Energy Performance Certificate). Your installer should provide the MCS certificate and meter details. If they haven't, contact them. An EPC is only required by some providers — if yours insists on one and you don't have a recent one, it may be worth switching to a provider that doesn't require it.
Inverter won't connect to WiFi. Check signal strength first — this is the cause in most cases. If the signal is adequate, try connecting via the inverter's AP (access point) mode rather than WPS. Also verify the CT clamp is seated properly on the correct cable and facing the right direction (there's usually an arrow indicating current flow direction).
Generation seems lower than expected. If you installed in autumn or winter, wait before panicking. A system installed in December might generate only 15–20% of what it will produce in June. Compare your actual output against monthly predictions, not annual ones. If generation is low even in good sunshine, check for shading issues, a tripped DC isolator, or an inverter fault code on the display.
Keep a Simple Log
For the first year, note your generation meter reading on the first of each month. This gives you a baseline to compare against in future years and helps you spot any gradual performance issues early. Most monitoring apps provide this data too, but a manual reading from the generation meter is your independent backup.
The Full Timeline at a Glance
The gap between installation day and your first SEG payment can feel frustratingly long, but it's standard. The good news is that your system is saving you money from the moment it's switched on — every kilowatt-hour you generate and use yourself is one you don't buy from the grid. The export payments are a bonus, not the main event.
Share this article
Stay informed
Get free solar updates direct to your inbox
Related reading
Solar Installation Day Checklist: What to Check Before You Sign Off
A homeowner's quality checklist for solar installation day — what to inspect, which tests to request, and which documents to collect.
The Solar Panel Installation Process: Step by Step
What happens during a solar panel installation from first quote to switch-on. A step-by-step guide to the UK solar installation process for homeowners.
Smart Export Guarantee (SEG) Explained
How the Smart Export Guarantee works in the UK, which suppliers pay the best SEG rates, and how to maximise your solar export income in 2026.

Switch to Octopus Energy
Get 50 credit when you switch. We get 50 too — win-win.
What does this mean for YOUR home?
Design your perfect solar setup in under 3 minutes. Free, no sign-up required.
Build Your Solar System