This page contains affiliate links. If you purchase through them we may earn a small commission at no extra cost to you. Learn more
Annual Solar Panel Maintenance Checklist
Solar panels need very little maintenance, but an annual check keeps your system performing well and catches problems early. Here's a practical checklist you can run through in 30 minutes.
The Annual Checklist
1. Visual Inspection (From the Ground)
What to look for:
- Panel surface: Any visible cracks, chips, or discolouration? Use binoculars if panels are high up.
- Bird mess or debris: Heavy soiling, leaves, or nesting material visible?
- Mounting brackets: Any visible movement, rust, or looseness?
- Cable condition: Visible cables intact and secured? No hanging or exposed wires?
- Roof condition: Any damaged tiles around the panel mounting points?
When to do it: Spring (March–April), after winter storms and before peak generation season.
2. Inverter Check
The inverter is the most likely component to develop issues. Check:
- Power light: Is the inverter showing a green/normal status light during daylight?
- Error codes: Any fault codes or warning indicators on the display?
- Fan noise: Does the inverter fan sound normal? Unusual rattling or grinding suggests bearing wear.
- Temperature: Is the inverter excessively hot to the touch? (Warm is normal; too hot to hold your hand near is not.)
- Display readout: Does the real-time generation figure look reasonable for the conditions?
When to do it: Any sunny day — check that the inverter is actively generating.
Check the Inverter App Regularly
Your inverter's monitoring app (GivEnergy, Solis Cloud, etc.) is the easiest way to spot problems. If generation suddenly drops to zero or falls significantly without weather explanation, something's wrong. Checking the app weekly takes 30 seconds and catches issues faster than an annual physical check.
3. Generation Review
Compare this year's generation against previous years and expected output:
- Annual total: Within 10% of previous years? (Weather variation is normal; 20%+ decline suggests a problem.)
- Monthly pattern: Does the seasonal curve look normal? A flat month that should be productive is a red flag.
- Compare against neighbours: If you know other local solar owners, are they seeing similar output?
How to check: Your inverter app or generation meter readings. See our reading your generation meter guide.
4. Electrical Safety
- DC isolator: Located near the panels on the roof or external wall. Check it's not damaged, leaking, or showing signs of water ingress. (DC isolator failure is a known issue — discolouration or melting around the switch is a serious safety concern.)
- AC isolator: Located near the inverter or consumer unit. Should be in the ON position and undamaged.
- Consumer unit: No tripped breakers related to the solar circuit?
DC Isolator Warning Signs
Discoloured, melted, or burnt-looking DC isolators are a safety risk. Some early-generation isolators (particularly certain brands installed 2010–2015) have been subject to recalls. If your DC isolator looks damaged or discoloured, do not touch it — call a qualified solar electrician immediately. This is the one maintenance item that can be genuinely dangerous.
5. Battery Check (If Applicable)
- Battery status: Showing normal state of charge and cycling?
- Error codes: Any warnings in the battery management system?
- Physical condition: No swelling, leaking, or unusual odours?
- Temperature: Battery within normal operating range?
- Cycle count: How many cycles has the battery completed? (Available in most battery apps.)
6. Export Meter / Smart Meter
- Export recording: Is your smart meter still recording export correctly?
- SEG payments: Are you receiving regular SEG payments?
- Generation meter: Take a reading and record it.
Seasonal Considerations
Spring (March–April)
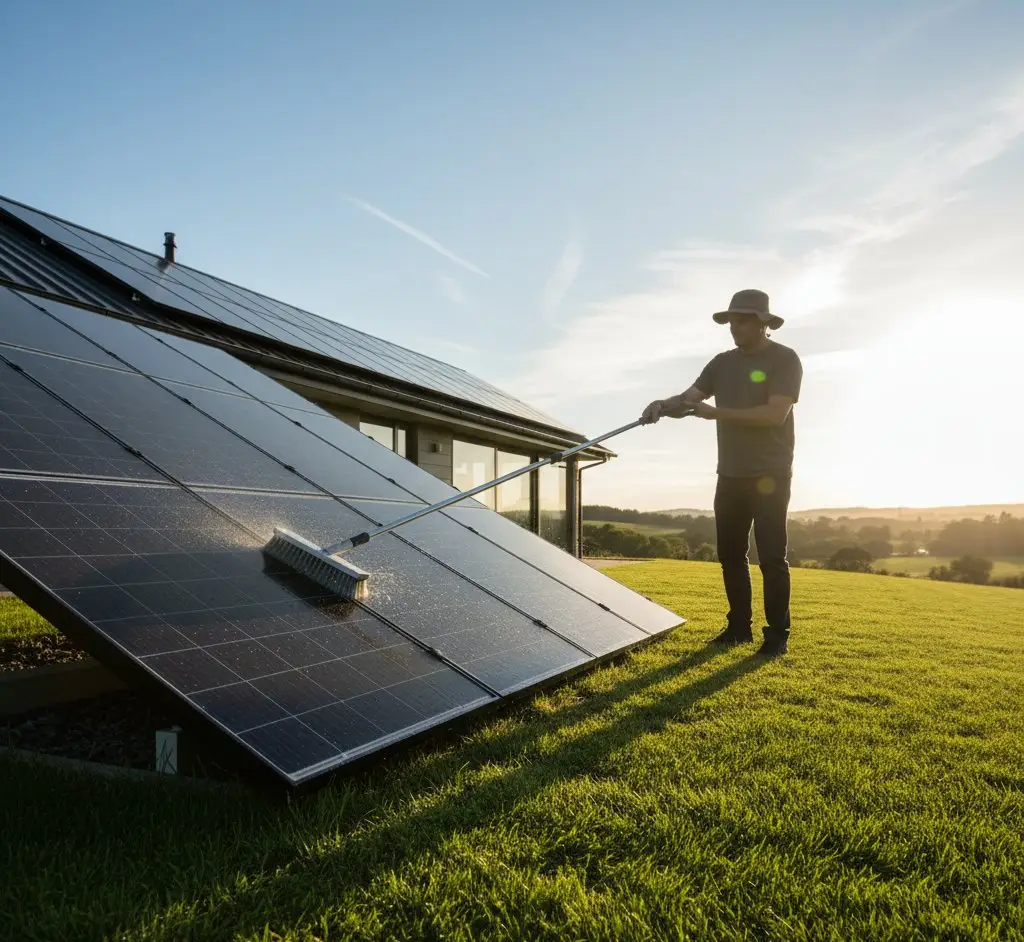
- Best time for the annual visual inspection
- Clean panels if needed (after pollen season, before summer generation peak)
- Check for winter storm damage
Summer (June–August)
- Monitor generation — this is when your system should perform best
- If output is unexpectedly low, investigate (shading from new tree growth, panel soiling)
Autumn (October–November)
- Clear leaves from panels and gutters near panels
- Check for bird nesting material accumulated during summer
Winter (December–February)
- Minimal maintenance needed
- Check inverter is still functioning (it should generate something even on short days)
- Snow will slide off tilted panels naturally — don't try to clear it
When to Call a Professional
Most annual maintenance is DIY. Call a professional for:
- Inverter error codes you can't resolve by restarting
- Significant generation decline (20%+ below expected) with no obvious cause
- Physical damage to panels, wiring, or mounting
- DC isolator concerns — any discolouration or damage
- Roof leaks around panel mounting points
- Battery warnings that persist after restart
A professional inspection/service typically costs £100–£200 and includes checking connections, testing output, and identifying issues you can't see from the ground.
Maintenance Costs
Realistic annual budget: £50–£100/year averaged over the system's life, including the eventual inverter replacement. Many years will cost nothing.
The 5-Minute Monthly Check
Don't want to wait for the annual inspection? A quick monthly routine:
- Open your inverter app
- Check this month's generation against the same month last year
- Look for any error notifications
- Glance at the panels from the ground — anything obviously wrong?
This 5-minute habit catches 90% of problems before they become expensive. Combined with an annual deeper check, your solar system should run trouble-free for decades.
For more on what affects your panel lifespan, see our panel lifespan guide. For cleaning specifics, see our cleaning guide.
What to Do If a Panel Is Damaged
Cracks, chips, shattered glass, and physical damage to panels are uncommon but do happen — typically from storm debris, hailstones, or accidental impacts. Here's the right process.
Step 1: Don't leave a damaged panel connected
Never Attempt to Disconnect or Remove a Panel Yourself
Solar panels produce DC voltage whenever light hits them — there is no safe way to make a panel "off" in daylight short of covering it completely with an opaque material. DC voltage at string level (300–900V) is lethal. Do not attempt to disconnect, remove, or work on a damaged panel yourself. This is work for a qualified solar electrician only.
A panel with cracked or shattered glass should be covered with an opaque tarpaulin or sheet as soon as safely possible (from ground level, without accessing the roof). Cracked glass allows moisture into the panel body, which can cause:
- Short circuits within the panel
- Accelerated degradation of the cells
- In the worst case, a DC arc and fire risk
Don't leave a visibly damaged panel generating electricity — call a professional promptly.
Use the calculator below to see how degradation affects output over 25 years.
Panel degradation over time
Solar panels lose output gradually each year. The shaded band shows the typical range for your panel type. Drag the slider to explore best and worst cases.
10 panels
4.5 kW system
2% first-year loss
After year 1
3,969
98% (2% LID loss)
Year 25
3,519
87% of original
Year 50
3,105
77% of original
50yr total
180k
kWh generated
Mono-PERC panels lose ~2% in year one from Light-Induced Degradation (LID), then degrade linearly. The 25-year warranty guarantees at least 80% output. Field data beyond 30 years is limited — projections past that point are modelled, not measured.
Step 2: Contact your original installer
If your installer is still trading, contact them first. The workmanship warranty — typically 2–10 years depending on the installer — may cover the damage if it was caused by a fault in the original installation (such as a cracked frame that weakened the panel, or incorrectly seated mounting hardware that led to mechanical stress). Accidental or storm damage is unlikely to be covered under workmanship warranty, but it's worth the call.
Step 3: Check your manufacturer warranty
The product warranty (typically 10–25 years) covers manufacturing defects and premature failure — not impact damage. However, if the damage looks like it originated from a manufacturing defect (delamination, internal cracking with no obvious impact), make a claim directly with the manufacturer.
Step 4: If your installer has ceased trading
If your installer is no longer trading, you still have options. An Installer Backed Guarantee (IBG) is insurance that protects workmanship warranties when installers go bust. Check your original installation documents for evidence of IBG cover. If you have an IBG policy, contact the insurer directly.
Replacing a single panel
If a replacement is needed, the new panel must match the existing string as closely as possible:
- Same or very similar wattage — mismatched wattage within a string causes the lowest-performing panel to drag down the whole string's output
- Same cell type — mixing monocrystalline and polycrystalline panels in a string creates current mismatches
- Same or very similar voltage characteristics (Voc and Vmp) — particularly important for MPPT (maximum power point tracking) accuracy
An exact match to the original model is ideal. If the original panel model is discontinued, a solar electrician can source a compatible alternative. Do not simply buy the cheapest available panel.
Typical cost for a single panel replacement: £200–£400 including call-out, the replacement panel itself, and any scaffolding required for roof access. If multiple panels need replacing, the per-panel cost falls as scaffolding is shared.
Claiming on buildings insurance
Storm damage, impact damage, and theft of panels are covered under most buildings insurance policies. Before any repair work begins:
- Notify your insurer — do this before repairs start, or the claim may be invalidated
- Document the damage — photographs from ground level are sufficient; don't access the roof yourself
- Get a written quote from a qualified solar electrician for the repair or replacement
- Check your excess — for a single panel replacement at £200–400, the claim may not exceed your excess. If so, pay directly rather than making a claim that could affect your premium.
Check Your Insurer Includes Solar Panels
Most standard buildings insurance policies cover solar panels as part of the roof structure, but some policies exclude them or require them to be explicitly listed. When you next renew your policy, check the schedule confirms solar panels are included — and notify your insurer if you install a new system or make significant changes to an existing one.
Share this article
Stay informed
Get free solar updates direct to your inbox
Related reading
Cleaning Solar Panels: Is It Worth It?
Do solar panels need cleaning in the UK? When it's worth it, when it's not, DIY vs professional cleaning, and what to never use on your panels.
How Long Do Solar Panels Last? The Honest Answer
Solar panels rated for 25–30 years — but what does that mean? Degradation rates, warranty types, what happens after 25 years, and why inverters fail first.

Solar Panel Efficiency: What It Means and Why It's Not Everything
Panel efficiency explained plainly — what the percentage means, why 20% vs 22% barely matters for UK homes, and what you should actually be comparing.

Switch to Octopus Energy
Get 50 credit when you switch. We get 50 too — win-win.
What does this mean for YOUR home?
Design your perfect solar setup in under 3 minutes. Free, no sign-up required.
Build Your Solar System